SmartMapper Step-by-Step
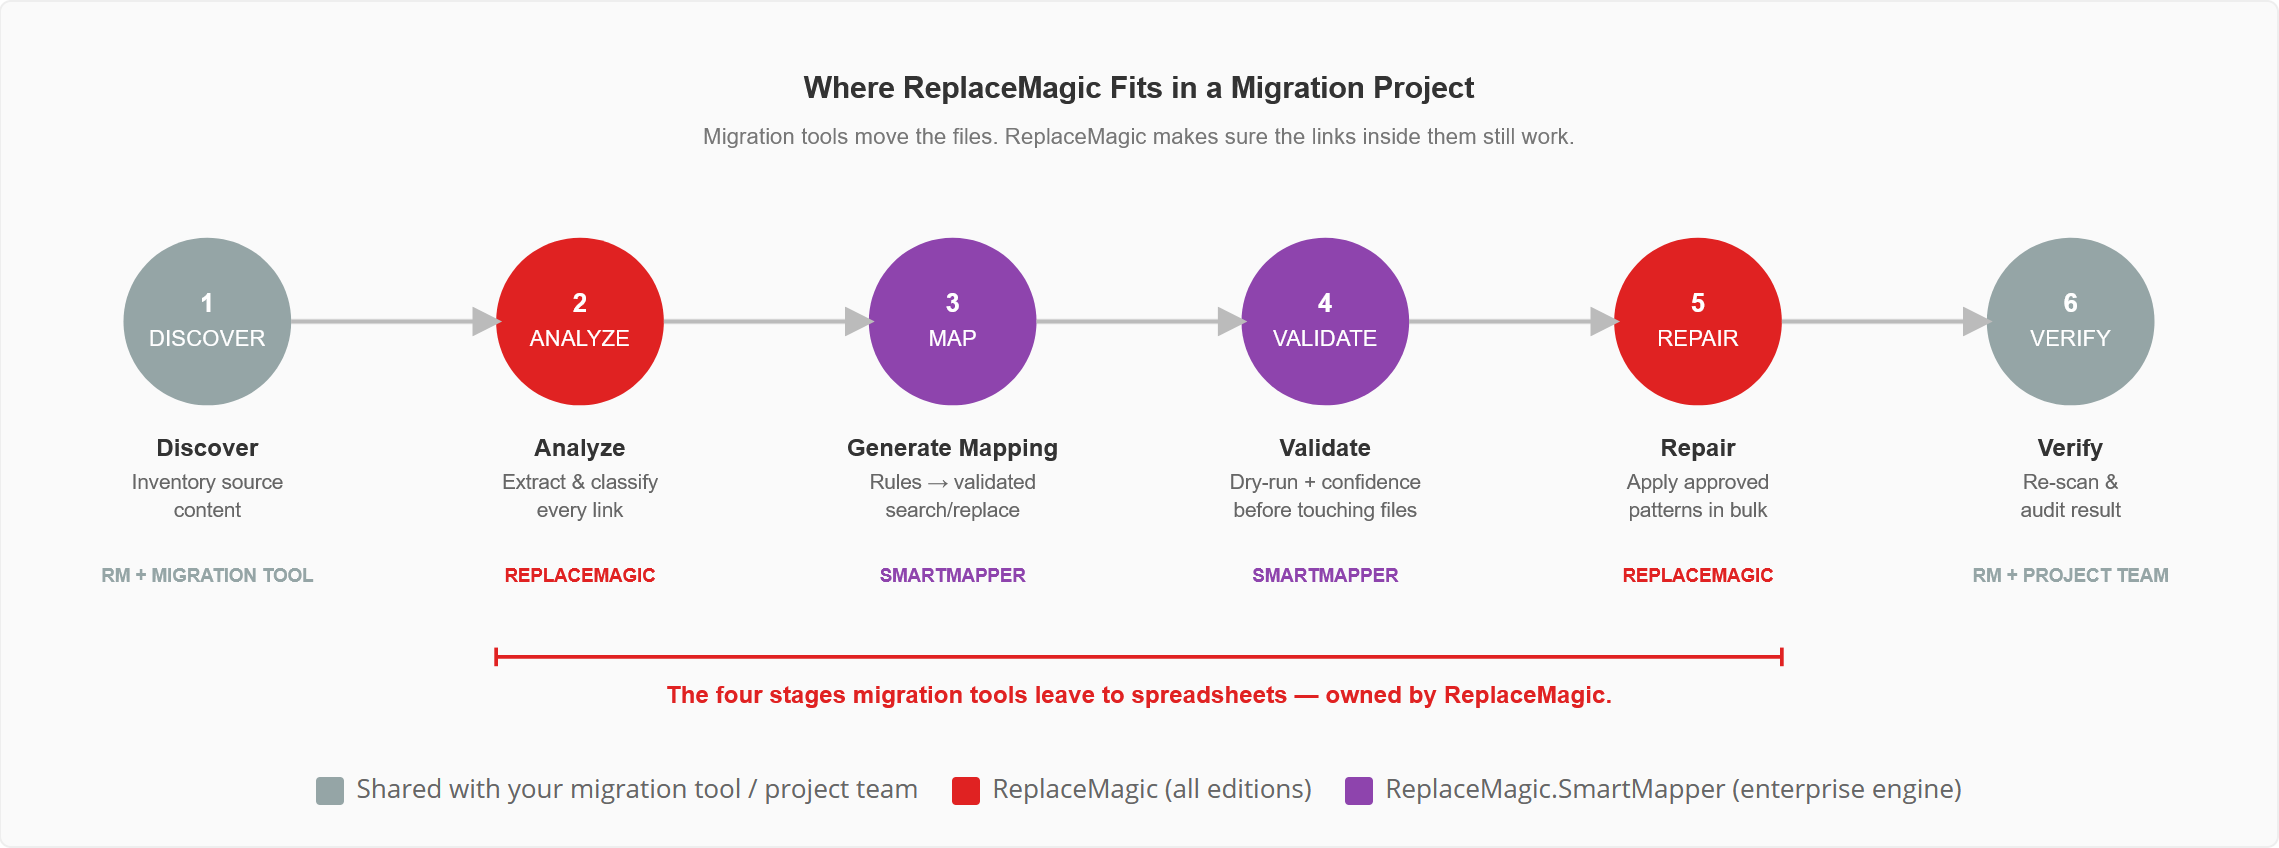
Every large document migration—whether it is a SharePoint tenant-to-tenant migration, file share to SharePoint Online, SharePoint on-premises to Microsoft 365, or cloud-to-cloud migration—follows the same general workflow.
Most migration tools are responsible for moving documents from the source to the target location. However, repairing broken links inside those documents is usually a manual, time-consuming, and error-prone process.
SmartMapper automates this entire process.
All you need to provide are your migration mapping rules (source → target locations). SmartMapper analyzes millions of links, generates optimized Search & Replace keys, validates them, and prepares everything for ReplaceMagic to repair your documents automatically.
The complete workflow consists of the following steps.
Step 1 – Configure the SmartMapper Database
Note: If you have already used the option to save runs to the database, we strongly recommend creating a new database (Configuration -> DB Wizard) due to recent database schema changes.
ReplaceMagic will attempt to upgrade the existing databse automatically. However, to avoid any potential compatibility issues, we recommend creating a new database and using it to store your SmartMapper data.
SmartMapper stores scan results, generated Search & Replace keys, and analysis information in a database.
Supported databases are:
- SQL Server
- MySQL
- SQLite
Configure the database via:
ReplaceMagic → Configuration → Database Configuration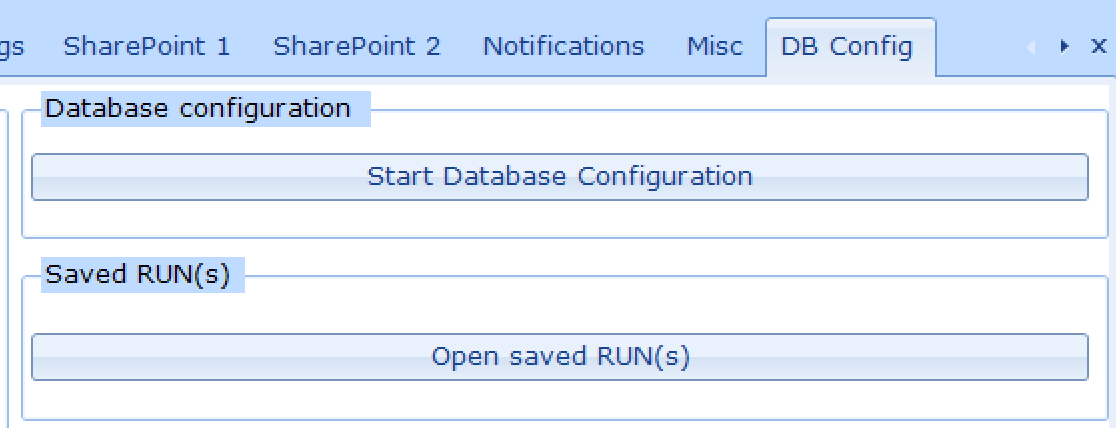
This is normally a one-time configuration.
If you enable Use SmartMapper before configuring a database, ReplaceMagic will automatically guide you through the required setup.
Whenever a newer ReplaceMagic version requires a database upgrade, the application performs the upgrade automatically while preserving all existing SmartMapper data.
Step 2 – Scan Your Documents
Scan the documents you want to repair.
The scan can be performed:
- before migration (source environment)
- after migration (target environment)
After scanning, save the scan results into the SmartMapper database.
There are two ways to do this.
Option 1 – Export the Scan Manually
Click Export Run after the scan completes.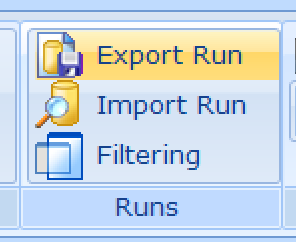
Option 2 – Enable SmartMapper (Recommended)
Simply enable Use SmartMapper before starting the scan.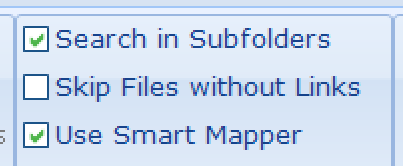
ReplaceMagic will automatically save the scan results after scanning finishes.
This is the recommended approach because no additional action is required.
Trial Mode
If you are using the ReplaceMagic trial version, or your license does not include SmartMapper, enabling Use SmartMapper automatically starts the SmartMapper trial.
During the trial, up to 100 documents can be processed.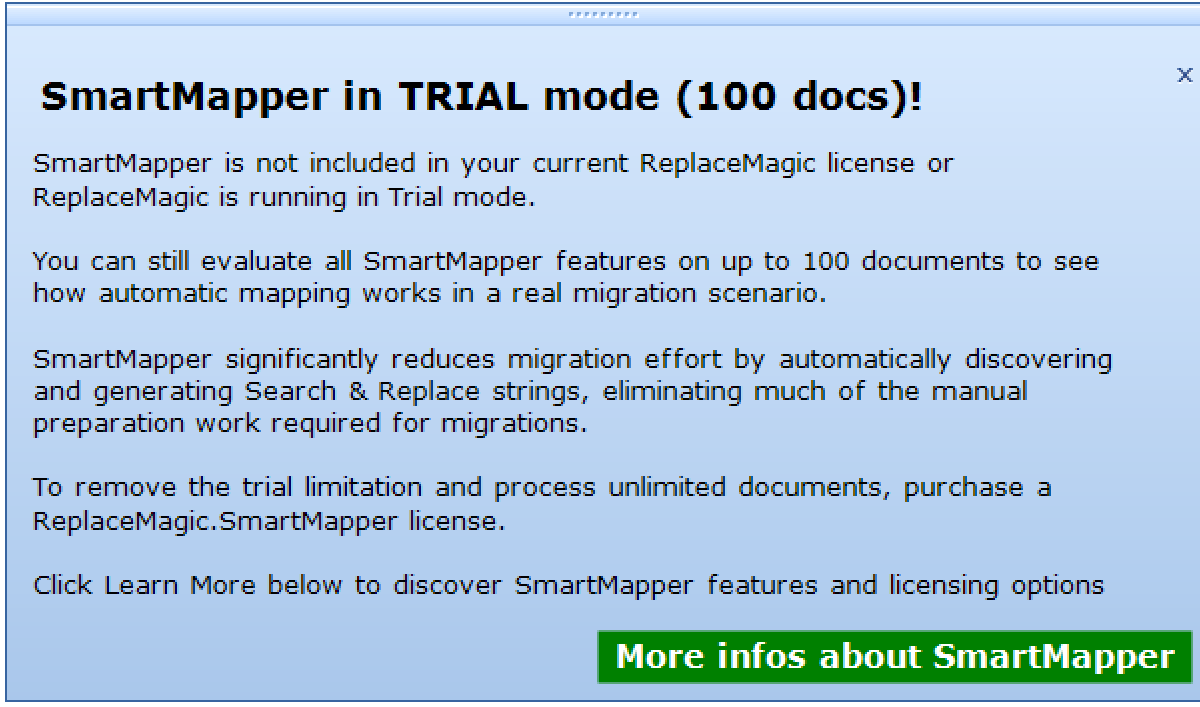
Step 3 – Prepare Your Mapping Rules
SmartMapper needs to know how documents were moved.
Provide a list of mapping rules that describe the relationship between the original locations and the new locations.
In most migration projects, these mappings already exist because they are required by the migration tool itself. Many migration solutions also generate migration reports that contain exactly this information.
The required format is:
One mapping per line.
Example:
\\ServerABC\Finance|https://contoso.sharepoint.com/sites/Finance
\\ServerABC\HR|https://contoso.sharepoint.com/sites/HR
The separator character is | by default.
Although it can be changed in ReplaceMagic Configuration, using the default separator is strongly recommended.
Important
Make sure:
- there are no leading or trailing spaces
- both source and target use consistent paths
- if one path ends with "/" the corresponding path should also end with "/" (same applies also for "\"). Depending on source/target type one might end-up with "\" and other with ""/". Key is that ending has to be of the same type (ending with any type of slash or ending without slashes).
Small formatting differences can prevent automatic matching.
Step 4 – Generate SmartMapper Search & Replace Keys
Open the main Search & Replace page and click:
Search & Replace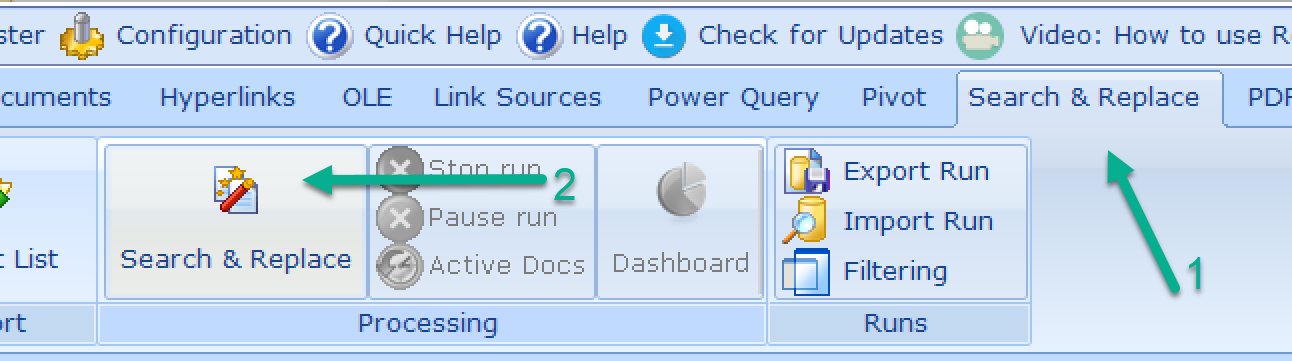
Then click:
SmartMapper
The SmartMapper wizard will open.
4.1 Select the Scan
Choose the previously saved scan that should be analyzed.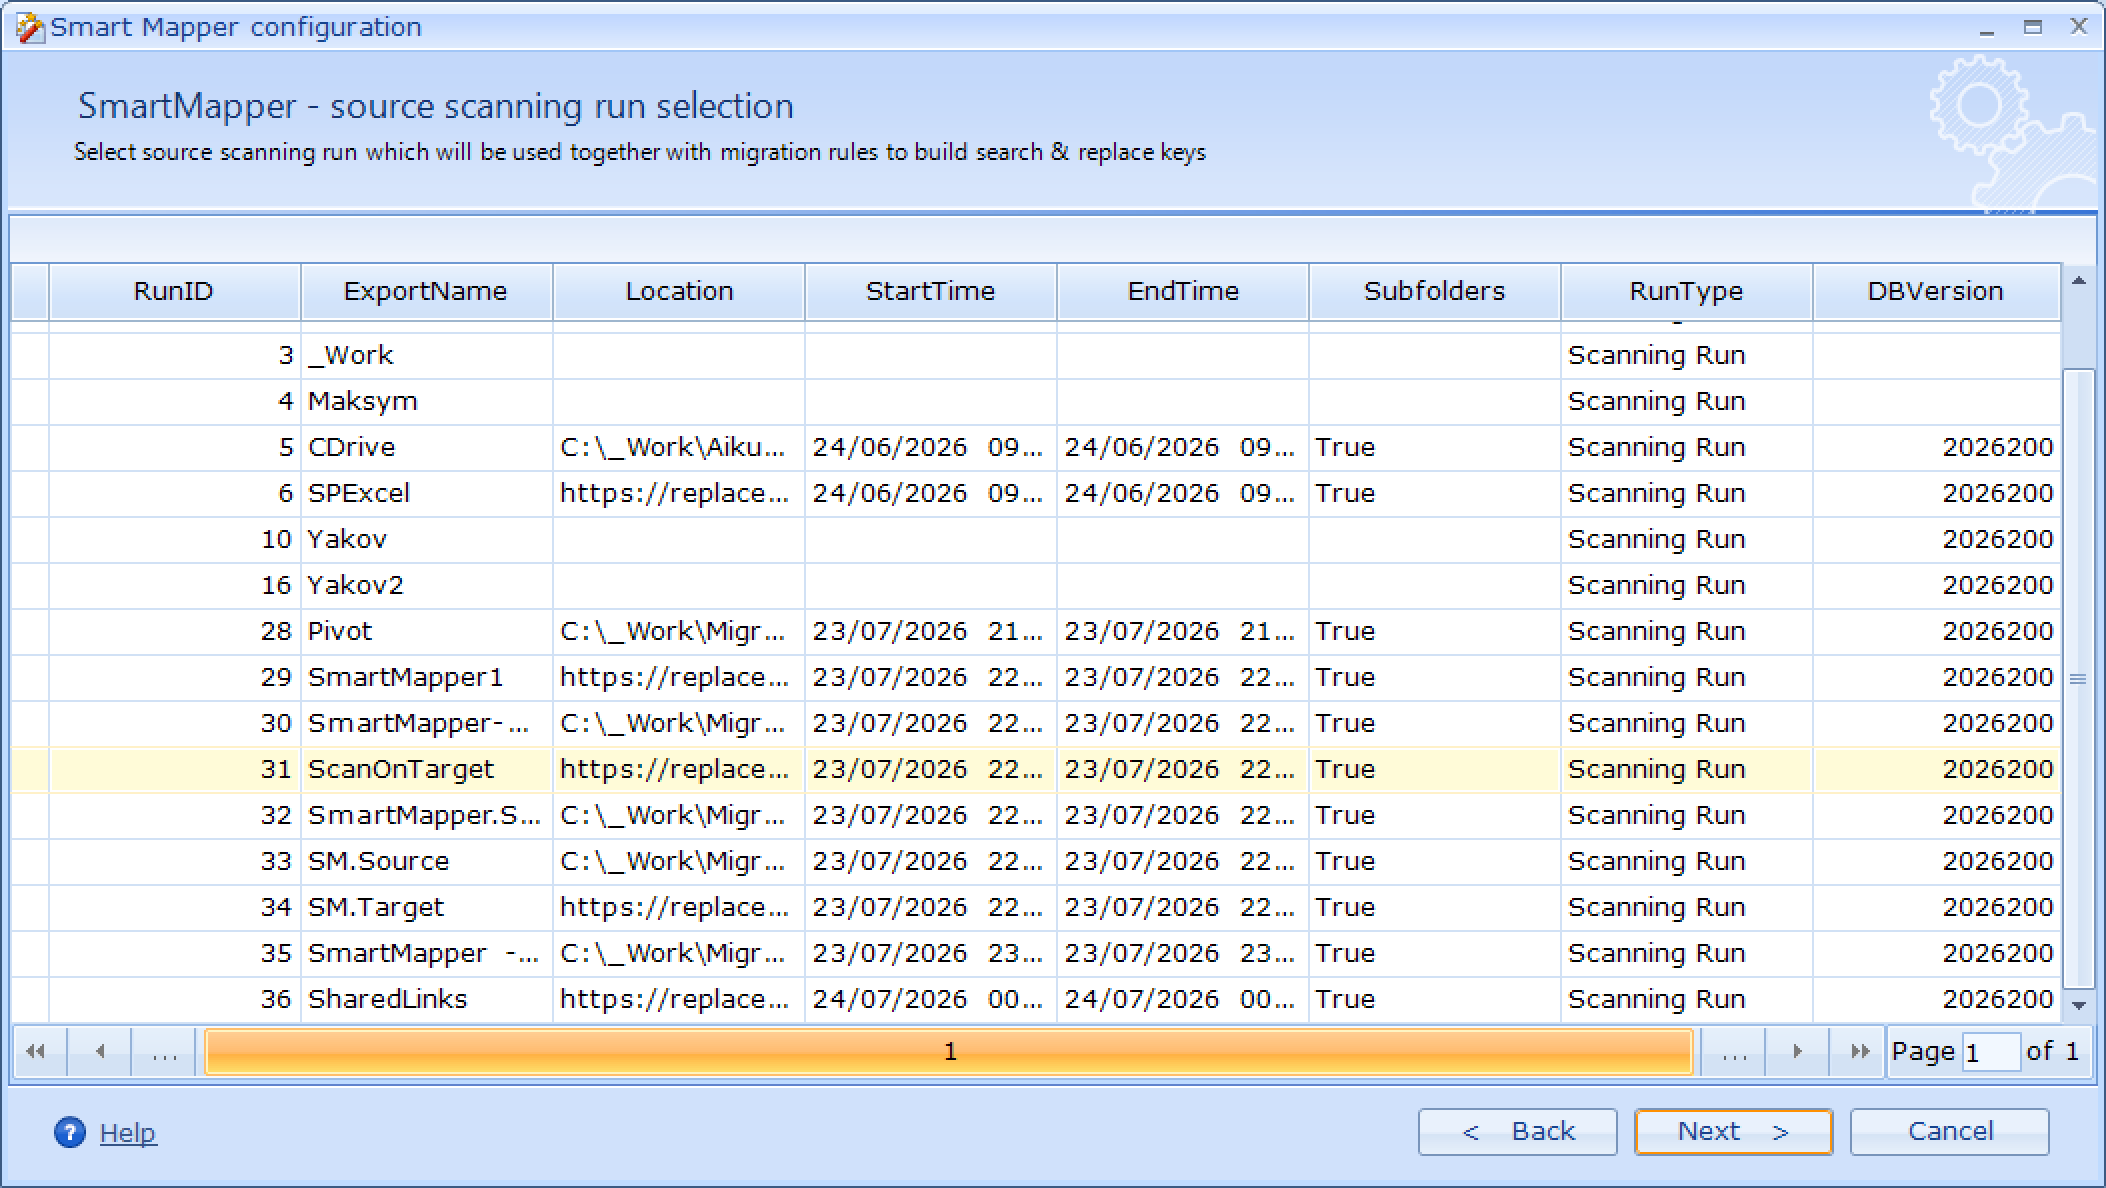
4.2 Load the Mapping Rules
Paste the mapping rules directly or import them from a text file.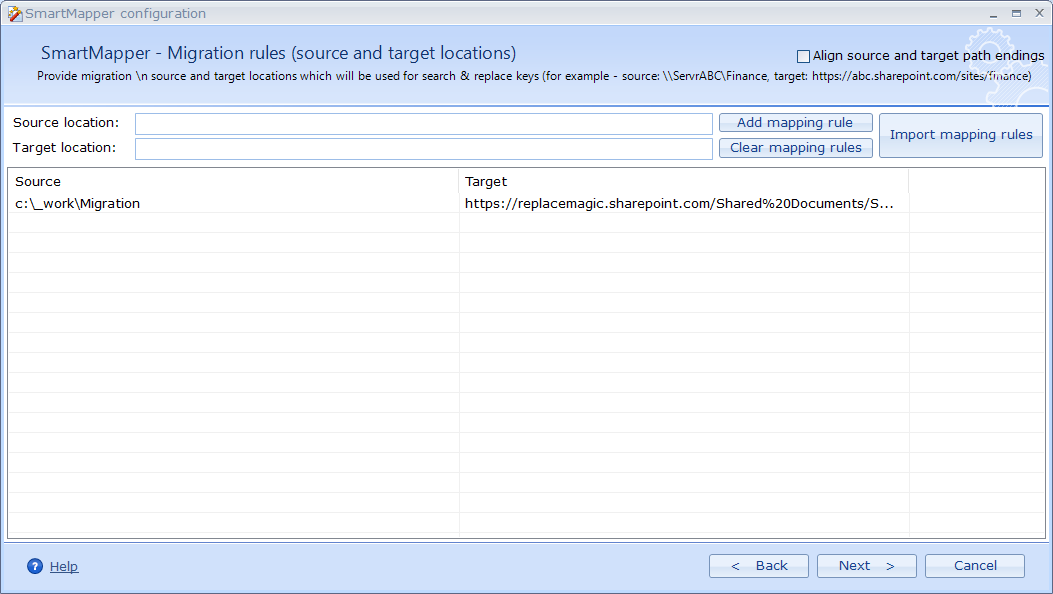
Option "Align source and target path endings" will ensure that path endings between source and target are always of the same type: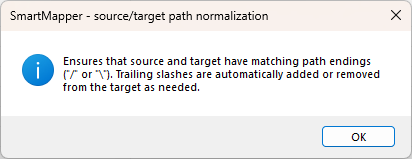
If you are entering source and targets having same endings (with or without slashes) this option is not required.
4.3 Configure Optional Filters
You can exclude links that should never be processed.
Examples:
- backup
- archive
- obsolete locations
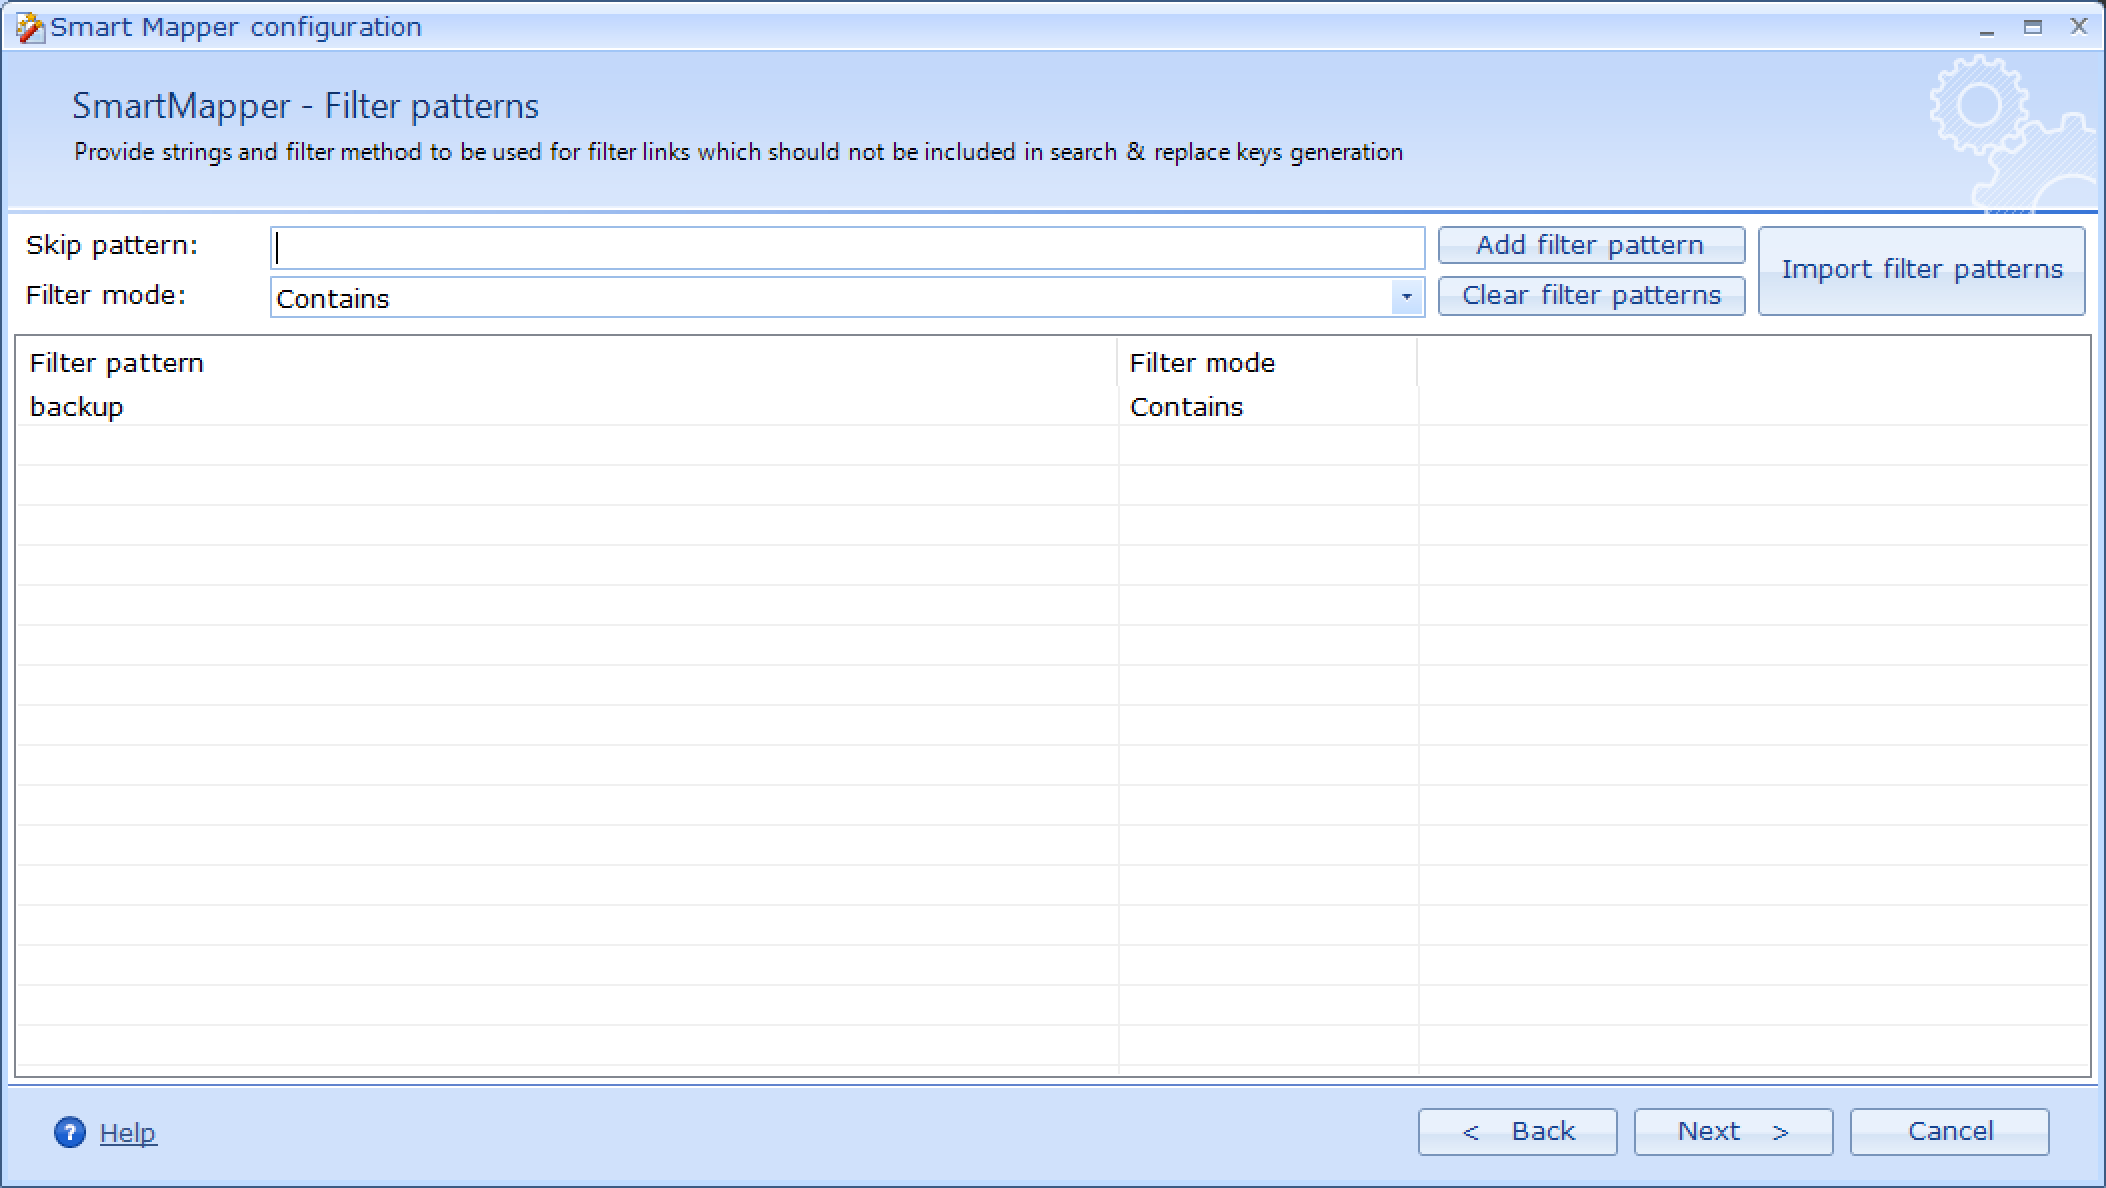
Filters can be applied to links that:
- begin with
- contain
- end with
the specified text.
This helps eliminate obsolete or intentionally ignored links from the analysis.
4.4 Generate Search & Replace Keys
Click Generate.
SmartMapper will automatically:
- analyze every discovered link
- compare it with the mapping rules
- detect matching migration patterns
- generate optimized Search & Replace keys
- identify conflicts
- prepare everything required for ReplaceMagic
If keys have already been generated previously, SmartMapper detects and reuses them automatically.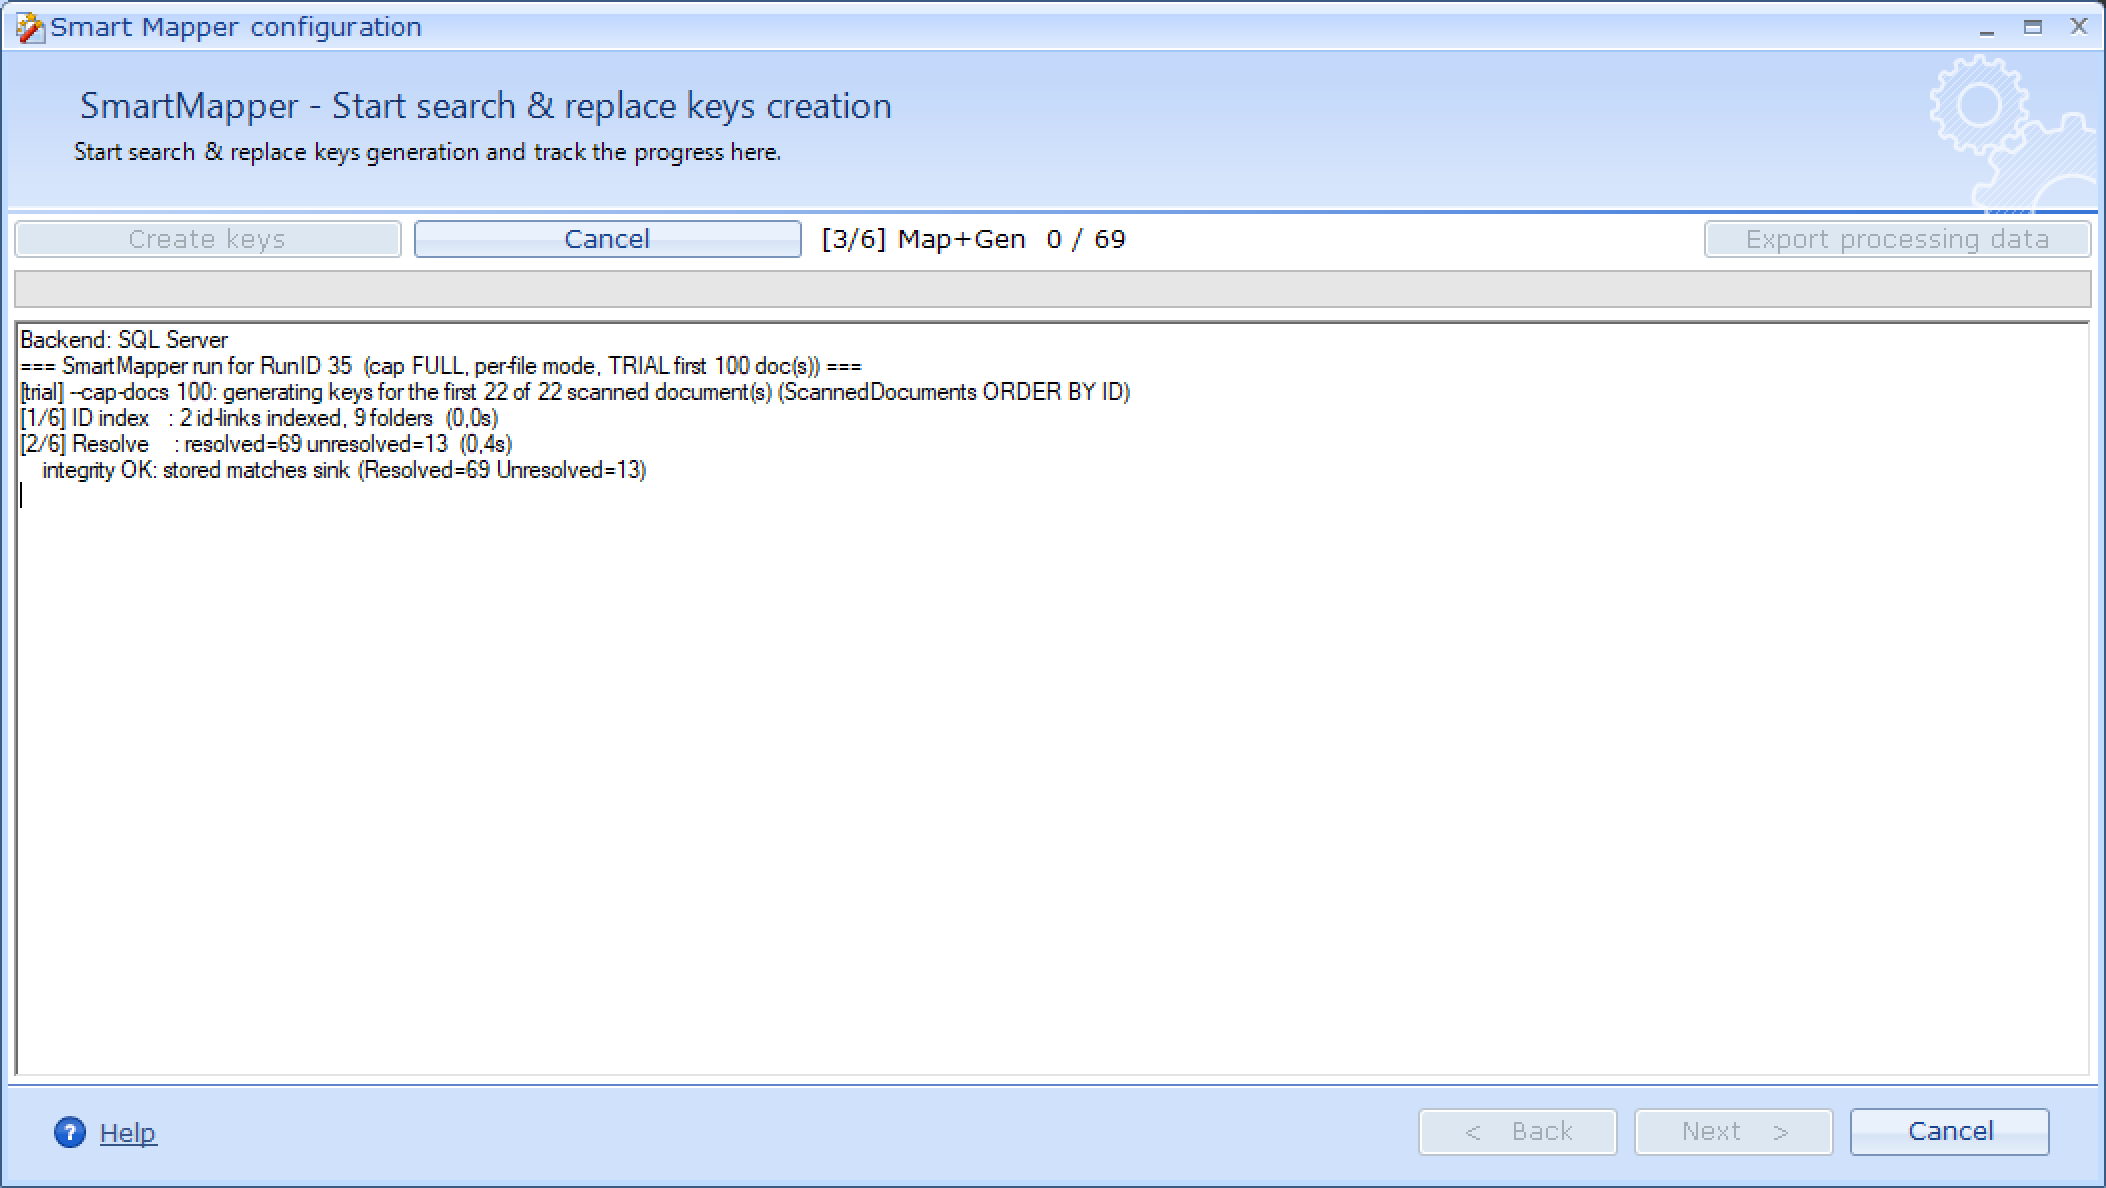
Performance
Even for very large environments, SmartMapper is fast.
For our test case:
- 1 million documents
- 12 million links
Processing time (on ReplaceMagic test computer - Intel i9 with 32GB RAM) was approximately 25–30 minutes. Of course, performance will depend on our hardware and number and complexity of your documents/links/migration rules/filter paterns.
4.5 Review the Generated Keys
Review generated Search & Replace keys. For performance reasons (and hardware resources consumption) up to 250k keys
are shown here and to see all keys export them in Excel or CSV file.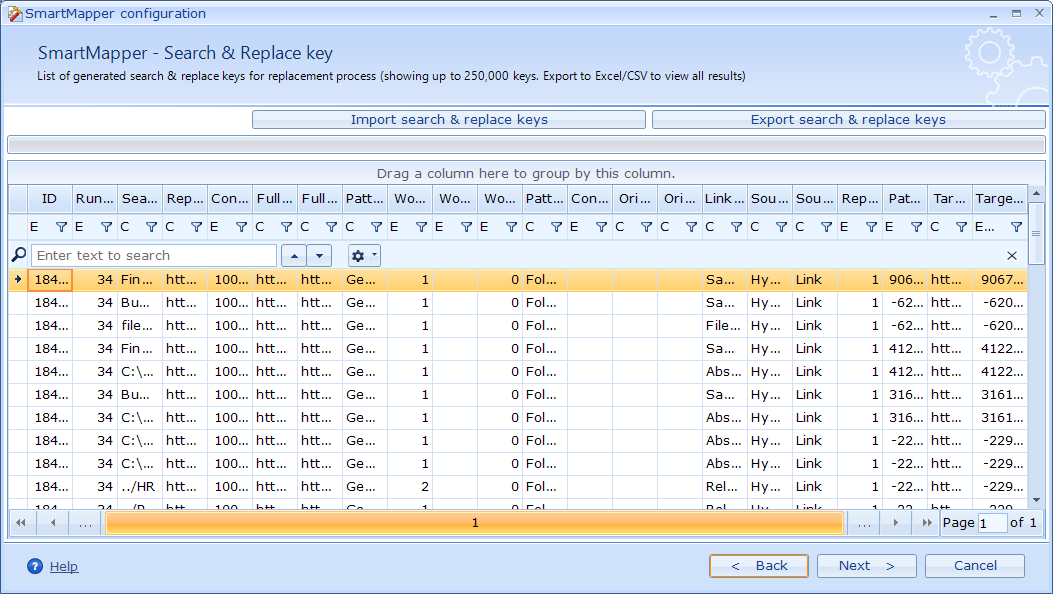
You can:
- review them directly inside SmartMapper
- export them to Excel or CSV
- Drag and drop column headers in "Drag a column here to group by this column"
- import the updated Excel file again
When importing an edited Excel file: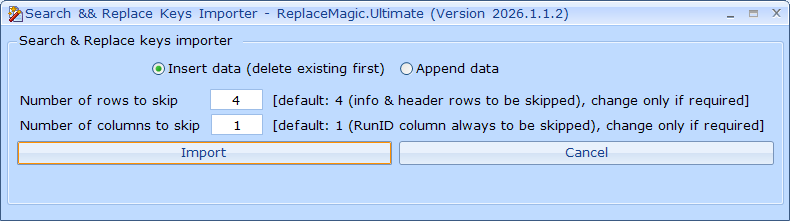
Select whether you want to replace the existing Search/Replace keys or append additional keys from an Excel file.
- Insert mode deletes all Search/Replace keys previously generated for the selected RunID and imports the keys from the Excel file.
- Append mode keeps the existing Search/Replace keys and adds the imported keys to the selected RunID.
If you have not modified first 4 rows of the exported Excel file (which is strongly recommended), you can keep the default Skip Rows and Skip Columns settings. The first four rows contain header information and should not be imported. Likewise, the first column (RowID) is skipped by default, allowing you to import Search/Replace keys from one RunID into another without preserving the original database row identifiers. ReplaceMagic automatically assigns new RowIDs for the selected RunID during the import.
4.6 Review Successfully Resolved Links
SmartMapper shows every link that will be repaired. For performance reasons (and hardware resources consumption) up to 250k
resolved links are shown here and to see all keys export them in Excel or CSV file.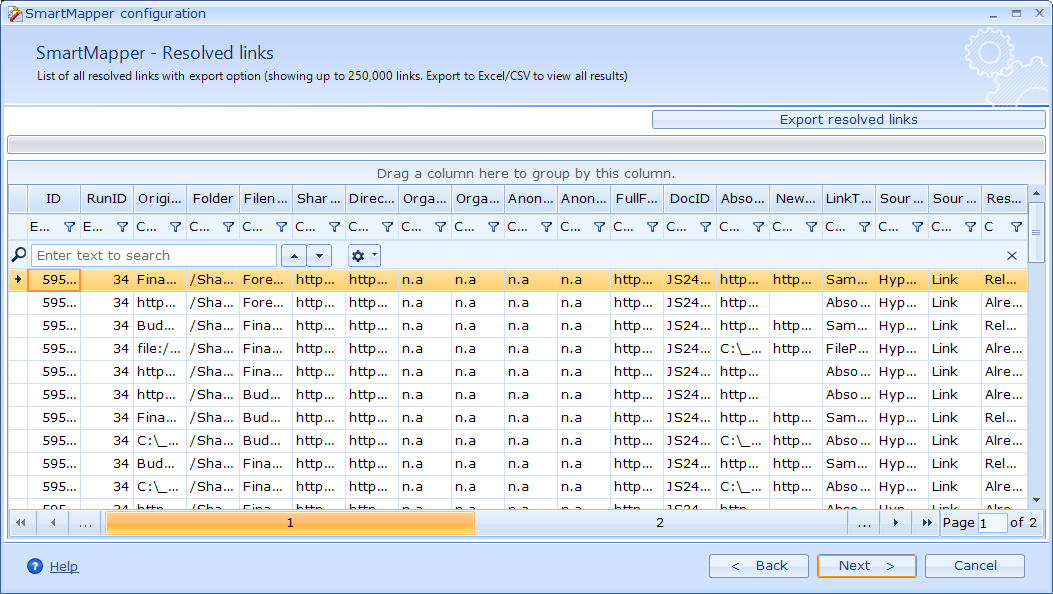
You can:
- review them directly inside SmartMapper
- export them to Excel or CSV
- Drag and drop column headers in "Drag a column here to group by this column"
4.7 Review Unresolved Links
Not every link can always be repaired automatically.
The Unresolved Links page lists every remaining unresolved link. For performance reasons (and hardware resources consumption)
up to 250k unresolved links are shown here and to see all keys export them in Excel or CSV file.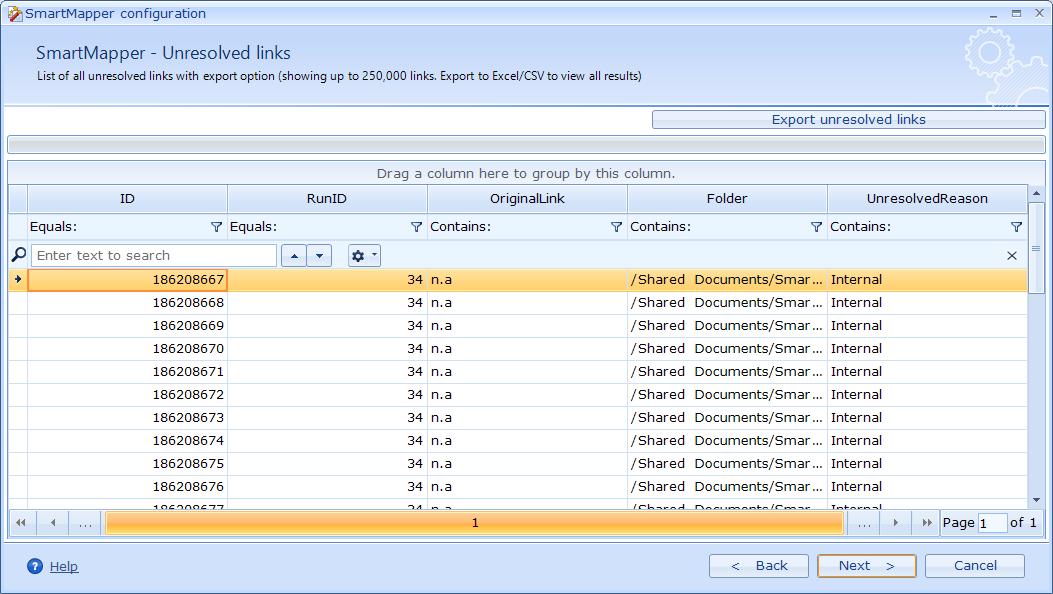
This allows you to:
- investigate missing mapping rules
- identify invalid links
- improve your mapping before running ReplaceMagic
- export them to Excel or CSV
- Drag and drop column headers in "Drag a column here to group by this column"
4.8 Final step
After reviewing the generated Search & Replace keys you will have following options:
- Continue with replacements - ReplaceMagic will use SmartMapper prepared search & replace keys for immediate replacement
- Go back & review - you will have possibility to readjust search & replace keys
- Close without replacements - search & replace keys are generated but will not be used during this session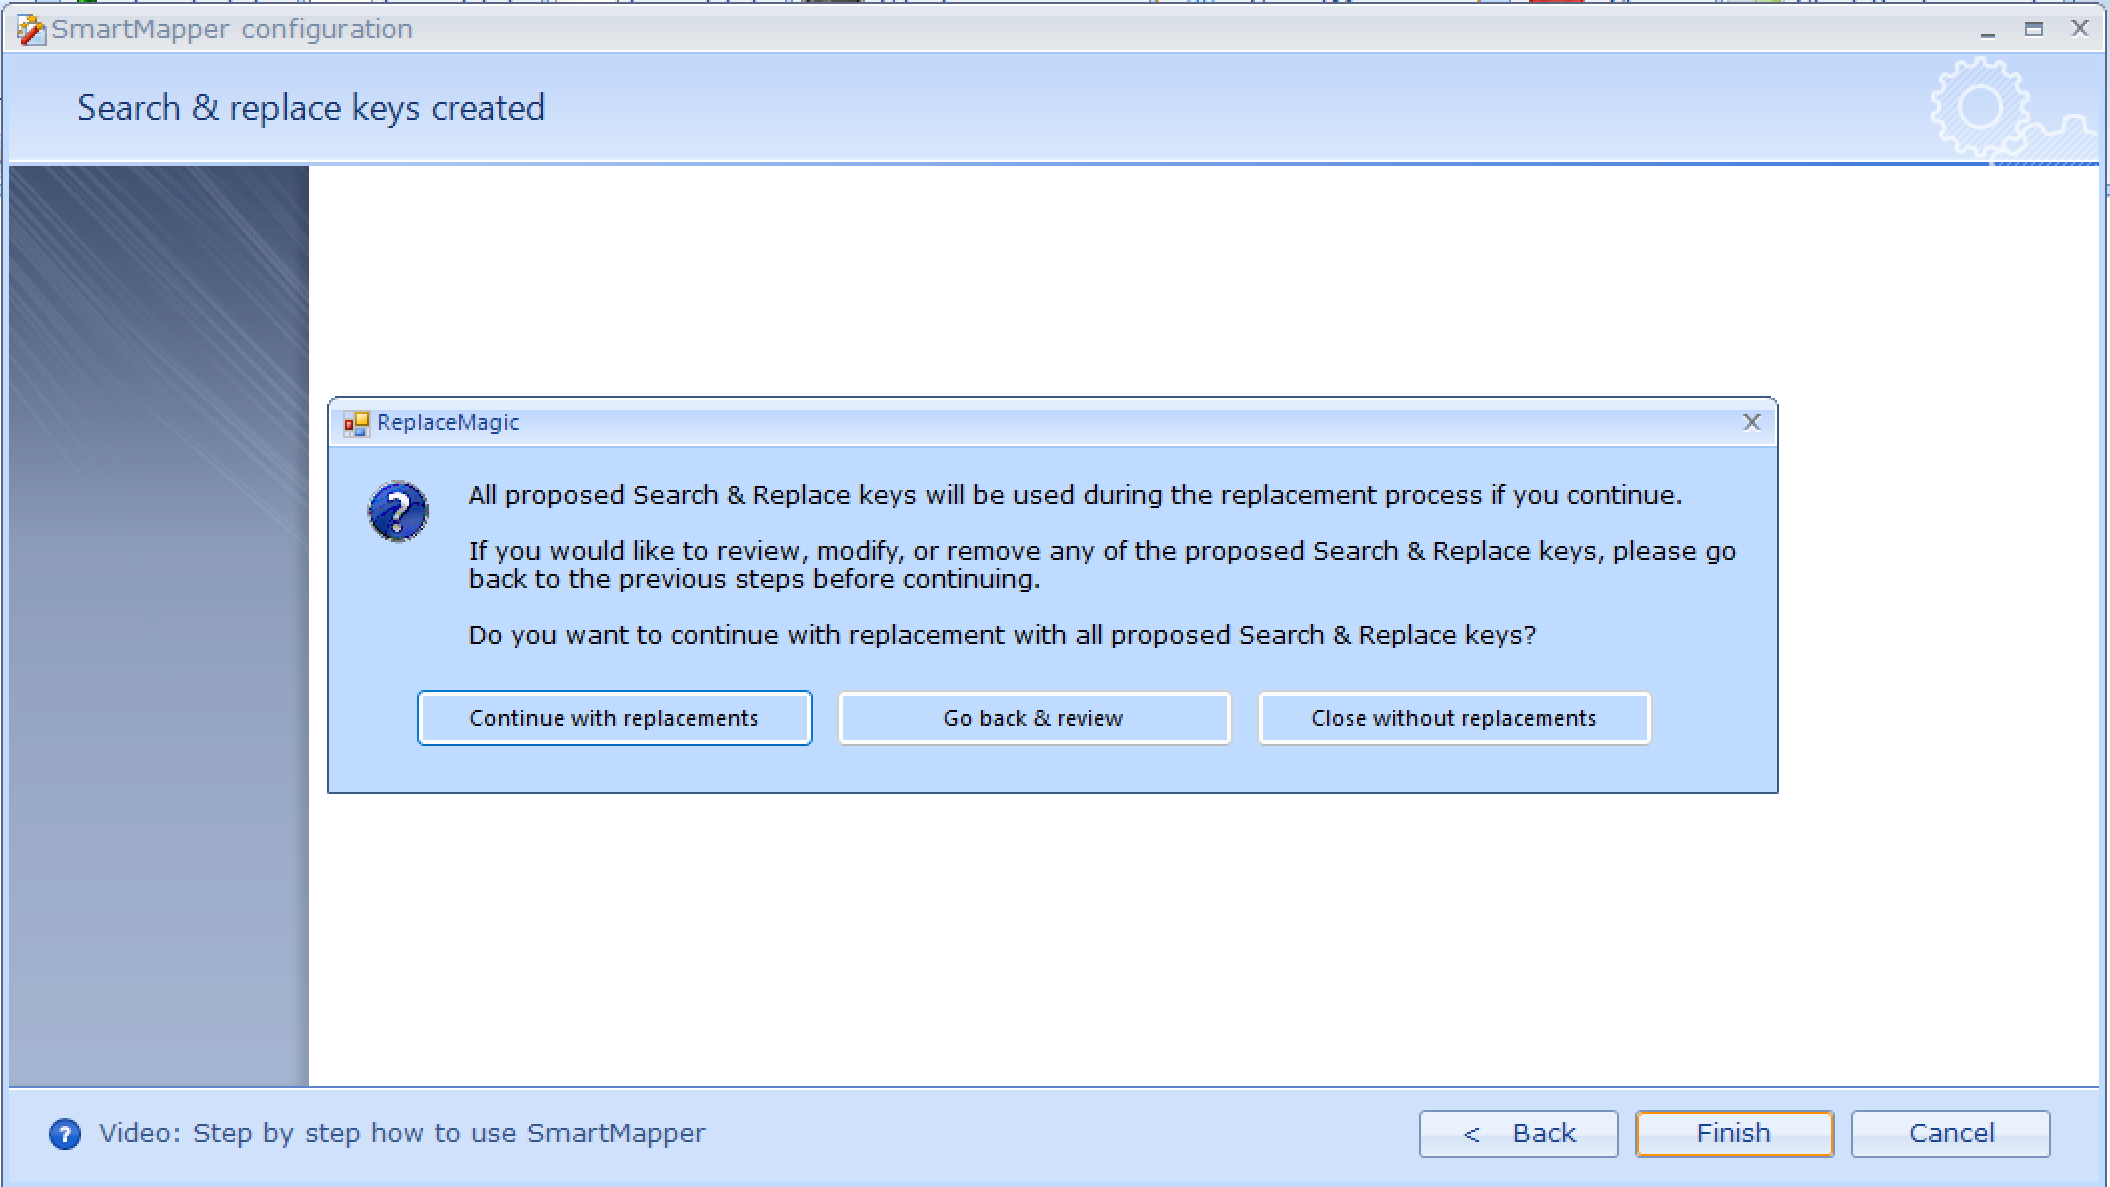
Step 5 – Repair Your Documents
Return to the main Search & Replace page.
Select the document areas that should be processed and start the replacement.
SmartMapper automatically prepares Search & Replace keys for link-related content, including:
- Hyperlinks
- OLE Objects
- Link Sources
- Pivot Tables
- Power Queries
Other replacement areas are processed normally by ReplaceMagic but are not specifically optimized by SmartMapper.
For document migration projects, we recommend selecting only the link-related replacement areas.
After confirmation, SmartMapper confirmation will appear in the standard ReplaceMagic Search & Replace list.
From this point onward, ReplaceMagic performs the document repair exactly like any other Search & Replace project.
Key Takeaway
The only information you need to provide is your migration mapping rules.
Everything else is performed automatically by SmartMapper:
- Scan analysis
- Link discovery
- Pattern detection
- Search & Replace key generation
- Validation
- Conflict detection
- Review
- Link repair preparation
No manual creation of Search & Replace keys. No guesswork. No scripting.
Simply provide your migration mappings and let SmartMapper do the rest.
Command-Line Support
SmartMapper-generated Search & Replace keys can also be used in unattended or automated executions via the ReplaceMagic XML configuration file.
See Command Line Mode (Silent Run Parameters) for details.